A-SEG-14
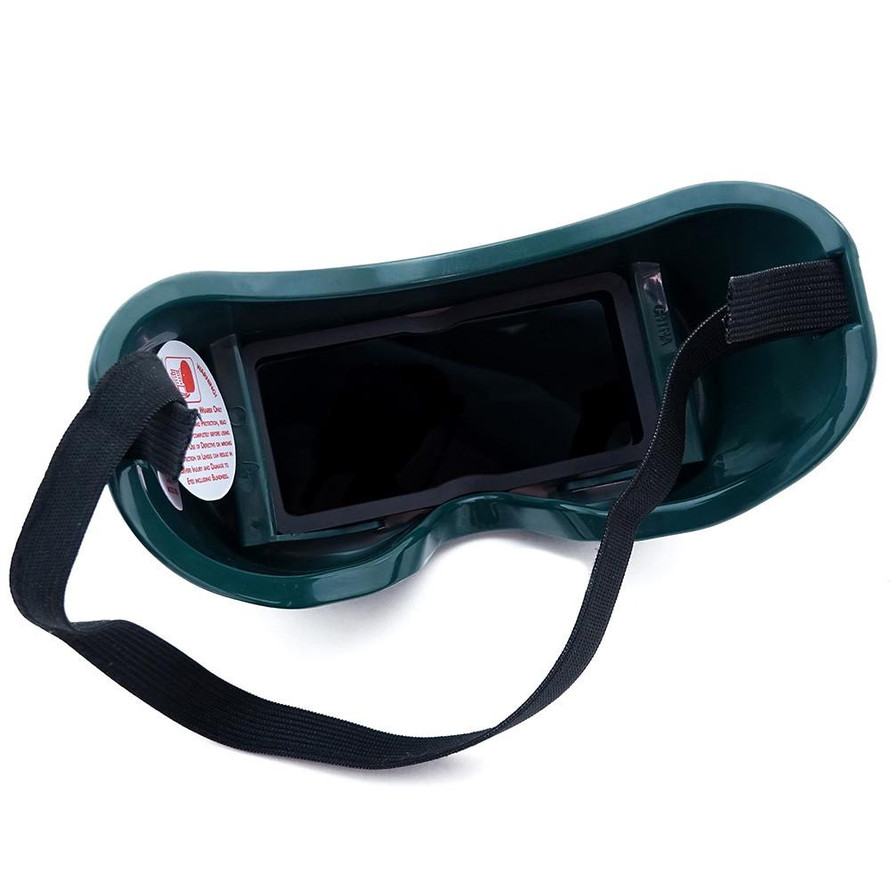
Comfortable Safety Goggle with The Perfect Lens for Viewing a Solar Eclipse.
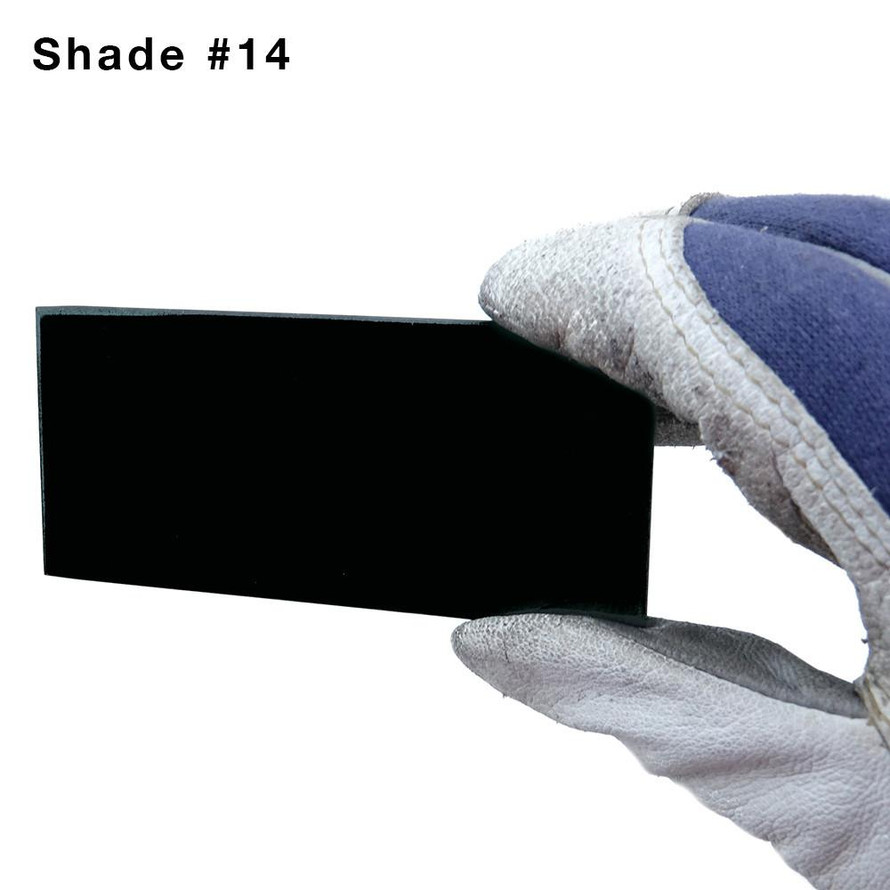
Designed to fit over prescription eye glasses and have contoured shape for snug, comfortable viewing! Kit Includes Shade #14 lens to safely view a Solar Eclipse.
Experts suggest for safe solar viewing you need a shade 14 welder's UV filter plate. It is imperative that you use a #14 filter plate. Do not use welding glasses if you do not know or cannot discern the filter plate shade number. A welding filter plate that permits you to see the landscape is not safe. Inexpensive "eclipse sun glasses" do not permit safe viewing
Read Solar Eclipse Excerpt from NASA
Note:
Googles come with a shade #5 lens installed, and Must be Changed to safely view an eclipse.
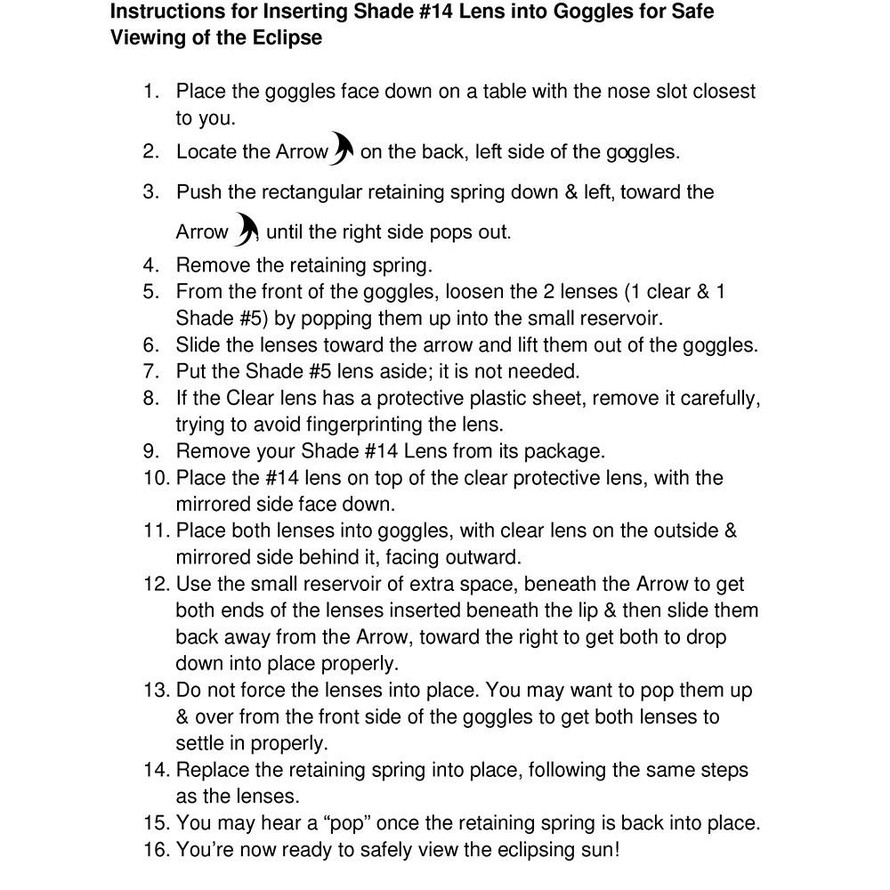
How Install the #14 Lens into your Goggles for Safe Viewing .pdf
- Place the goggles face down on a table with the nose slot closest to you.
- Locate the Arrow ⇽ on the back, left side of the goggles.
- Push the rectangular retaining spring down & left, toward the Arrow ⇽, until the right side pops out.
- Remove the retaining spring.
- From the front of the goggles, loosen the 2 lenses (1 clear & 1 Shade #5) by popping them up into the small reservoir.
- Slide the lenses toward the arrow and lift them out of the goggles.
- Put the Shade #5 lens aside; it is not needed.
- If the Clear lens has a protective plastic sheet, remove it carefully, trying to avoid fingerprinting the lens.
- Remove your Shade #14 Lens from its package.
- Place the #14 lens on top of the clear protective lens, with the mirrored side face down.
- Place both lenses into goggles, with clear lens on the outside & mirrored side behind it, facing outward.
- Use the small reservoir of extra space, beneath the Arrow to get both ends of the lenses inserted beneath the lip & then slide them back away from the Arrow, toward the right to get both to drop down into place properly.
- Do not force the lenses into place. You may want to pop them up & over from the front side of the goggles to get both lenses to settle in properly.
- Replace the retaining spring, following the same steps as the lenses.
- You may hear a “pop” once the retaining spring is back into place.
- You’re now ready to safely view the eclipsing sun!
Have a question? ask our team
 (1) Reviews
-
It takes less than 5 minutes to swap in the…
It takes less than 5 minutes to swap in the included #14 glass, no tools required. The size and adjustible strap mean that these fit my 3 year old's head as well as they do mine. I went outside and tried it: you can look at the sun comfortably even when there's no eclipse. You can't see much else, but that's the point of it.
benjamin L. | May 11th 2023
Write a Review


