Miller® Diversion TIG Torch & Work Lead Upgrade Kit
Enjoy the benefits of a high-performance Air-Cooled -or- Water-cooled TIG torch on your Miller® Diversion™ 165, 180 & Hobart® EZ-TIG 165i
Easy-to-Install Update Kit!
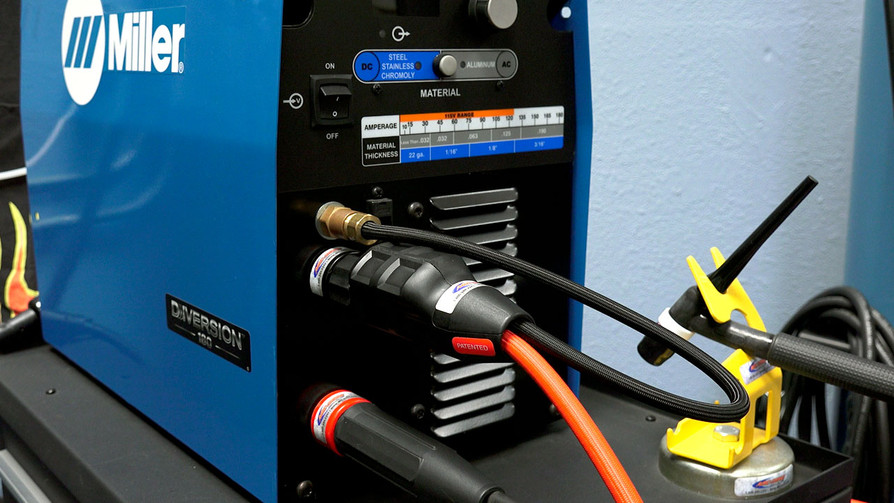
Miller® Diversion machines come from the factory with a direct mount 17 (3 series) 12.5' (3.8m) TIG torch that is bulky and cumbersome to handle reducing your ability manipulate the torch and control the weld puddle - which is critical to high-quality TIG welding.
What's more the work lead (ground cable) is "hard-wired" to the machine, which limits the type of ground clamp you can use, and the length of the cable.
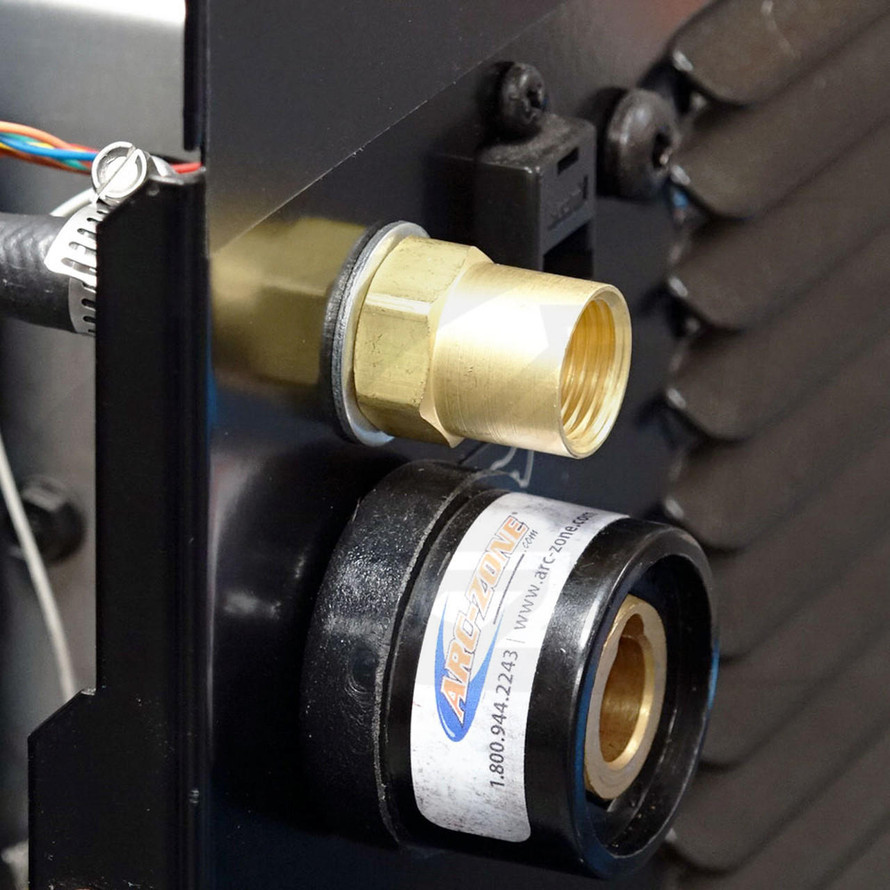
The JW Signature Series Upgrade Kit makes it easy for you to install -- the most popular -- Large (50mm Dinse) Dinse style twist lock TIG Power and Work Leads that quickly connect to the face of your machine.
The conversion is simple, and can be done in a few minutes with our complete upgrade kit and standard shop tools.
Update your Miller Diversion and benefit from improved TIG welding performance!
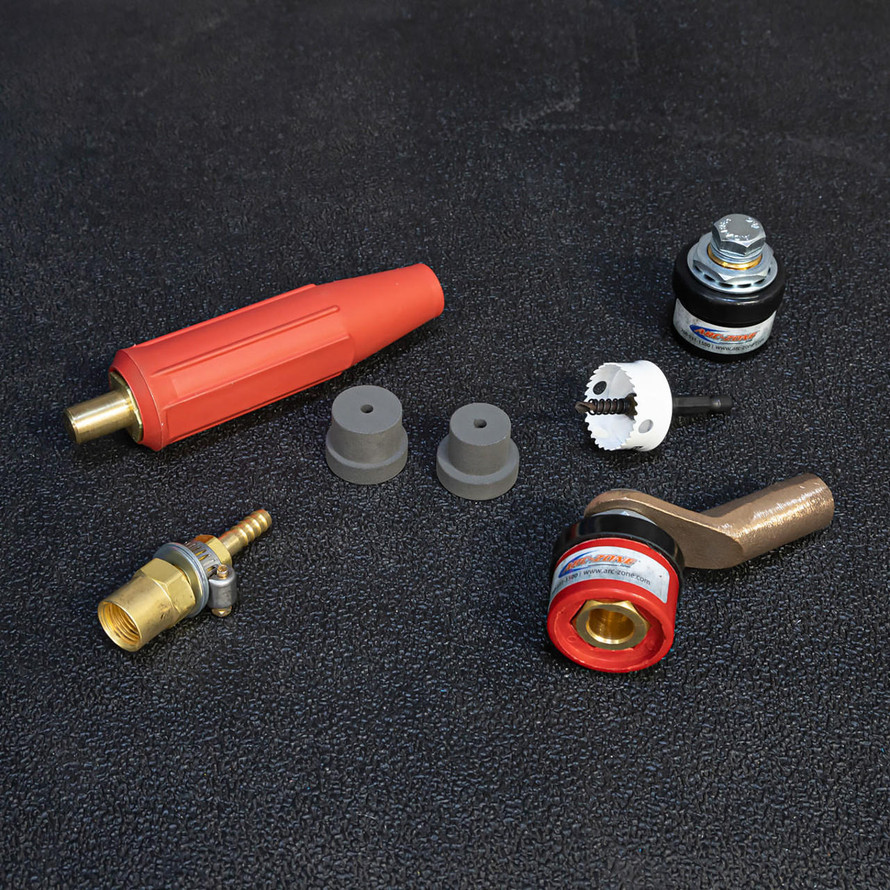
JWS-MDCK-D Kit Includes:
- 1ea. Female Dinse Panel Mount (black) TIG Torch Receptacle
- 1ea. Female Dinse Panel Mount (red) Work Lead Receptacle
- 1ea. Male Dinse (red) Work Lead Connector
- 2ea. Hole Saw Guide Bushings
- 1ea. 30mm Hole Saw
- All related mounting hardware and accessories
*Air-Cooled TIG Torch connector sold separately
Complete Your Upgrade with a New TIG Torch (Select from Options Above)
| Torch Model | Torch Series & Amperage Rating | Power Cable | Machine Power Connector | Cable Cover | Torch Accessory Parts Kit |
|---|---|---|---|---|---|
| CK-9 FX Flex-Head |
9 (2 Series) Air-Cooled 125 Amp | 25' (7.6m) Single Piece SuperFlex | Installed on TIG Torch | No | AK-1-PRO |
| CK-17 FX Flex-Head |
17 (3 Series) Air-Cooled 150 Amp | 25' (7.6m) Single Piece SuperFlex | Installed on TIG Torch | No | AK-3S-Pro |
***Important Note: The power cable for the CK-9 FX torch package option will work with the WP-17 Torch/Handle that came with your Miller Diversion machine. Simply slide the handle back and unthread the torch body from the power cable. This will allow you to keep and use all of your existing front end parts.
Upgrade Installation Video
Installation Instructions:
- Step #1. Turn Off Machine's Power Switch and UNPLUG THE POWER CORD!
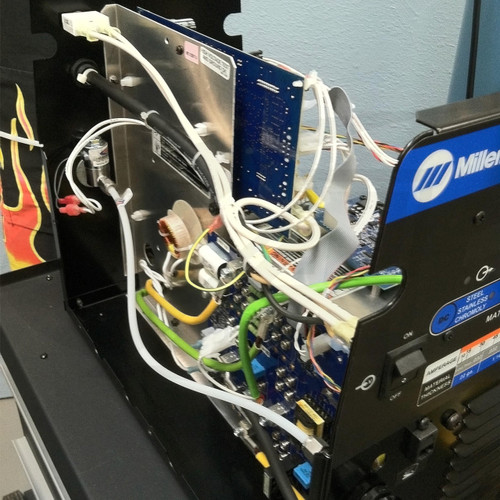
- Step #2. Remove the machine cover, factory-installed TIG Torch and work lead connector and strain relief(s). Save the covered Work Lead cable with Eyelet Connector.
- Step #3. Cut the covered Work Lead (opposite the Eyelet Connector) so you have 12" of work lead cable. This will be your new Internal Work Lead connection to the (red) Panel Connector.
- Step #4. Strip the end of the covered Work Lead (opposite end of the Eyelet Connector) and connect the Arc-Zone supplied 45 degree angle connector.
- Step #5. Using the Arc-Zone supplied hole saw drilling kit, enlarge the two existing holes in the machine's front panel to 30mm.
- Step #6. File a 1/4" x 1/4" (6.4mm) "keyway" relief into the enlarged the 30mm holes (it's best to locate each relief at the "6 o-clock" position) on the chassis of your machine. This allows the New Female Panel Receptacles to nest properly and keeps them from rotating. If you do not perform steps 5 & 6, you could have the Welding current in direct contact with the machines chassis.
- Step #7. Disassemble the Black and Red panel Mount Receptacles and insure that they fit into the holes on the machines front panel.
Note: There is an insulator for the inside and outside of the machine chassis, and both have a 1/4" (6.4mm) notch that must be lined up during assembly. - Step #8. Install TIG torch panel mount connector, (Black) into Upper Hole in machine face, with flat and lock washer so as to sandwich the machine’s power eyelet. Tighten as needed.
- Step #9. Install Work Lead panel mount connector, (Red) into Lower Hole in machine face. Tighten as needed.
- Step #10. Tighten the Work Lead eyelet connectors to the mother board and the Lower (Red) Panel Connector.
- Step #11. Verify that all connections are tight and Re-install the machine cover.
Complete your upgrade with a new high-performance TIG torch! Select the torch and amperage that best fits your application.
Enjoy your upgraded Diversion, and good welding!
Want to upgrade to water-cooled? Give us a call today!
Want even better performance? Upgrade your Foot Pedal to an SSC-C810-0814 (Select From Options Above)
*WELDING MACHINE NOT INCLUDED*
Have a question? ask our team
 (9) Reviews
-
The upgrade was easy. The female Dinse panel…
The upgrade was easy. The female Dinse panel mount (red) work lead receptacle or the male Dinse (red) work Lead connector included in kit has poor manufacturing tolerances. The connection was extremely loose. Web site did not show which SafeLoc water-cooled DINSE connector or water cooled TIG Torch to order with upgrade kit. Video on web site was not complete and nothing on converting the Hobart 165i.
William F. | Aug 20th 2021
-
Very nice kit. Make sure you get the connector…
Very nice kit. Make sure you get the connector for your new torch. Easy conversion. Also upgrade to another foot pedal.
James H. | Apr 2nd 2021
-
Awesome upgrade however I wish they had…
Awesome upgrade, however, I wish they had immediately presented you with option to purchase the right size torch dinse adapter needed to complete the conversion, otherwise great stuff.
Michael J. | Sep 20th 2020
-
This is a great upgrade for Diversion welders.…
This is a great upgrade for Diversion welders. Video was really helpful, but would love to see more complete instructions, especially regarding removal of old torch and control switch.
Jesse D. | May 20th 2020
-
Really slick kit. Great instructions high quality…
Really slick kit. Great instructions, high quality pieces, absolutely fantastic!
Anuthee H. | Apr 28th 2020
-
Great upgrade to the Miller Diversion 180. I have…
Great upgrade to the Miller Diversion 180. I have done all 3 machines in shop with it. Makes switching leads easy and fast plus easier to find new hose for. Stock one was built in machine.
matt h. | Dec 12th 2019
Write a Review


